To start the automation, We need some software, Libraries, and most important Java environment in the machine. In This Section, we are going to learn, How to set up an Environment for automation with Selenium Web Driver using Java as a Programming Language, and Eclipse IDE As a Code Editor.
Setting up the environment for automation with Java Selenium
- Download and install JDK.
- Download Latest Selenium Jar.
- Download Latest Selenium WebBrowser Driver Based on the browser.
- Download Eclipse IDE from Below Mention Link.
- Java Setup(Set System environment path).
- Create a new project and Add selenium libraries.
Java Development Kit(JDK)
Download the latest Java JDK From the Below Mention link (Depending on Upon Your Operating System).
Java JDK Link: https://www.oracle.com/java/technologies/downloads/
Once the download is done you can follow some simple steps to install this in your machine as we do any regular windows software or follow the tutorial to install JDK on the windows machines.
Download Latest Selenium Jar
Selenium jar files are a collection of API For controlling the Browsers actions.
Selenium jar file link: – https://www.selenium.dev/downloads/
Download Latest Selenium WebBrowser Driver Based on the browser
Selenium WebDriver I Used for Handling or Automating Testing on Web Application.
Selenium WebDriver link:- https://www.selenium.dev/documentation/webdriver/getting_started/install_drivers/
Download Eclipse IDE from Below Mention Link
Eclipse IDE is an Integrated Development Environment For Developing Applications
Eclipse IDE Link: – https://www.eclipse.org/downloads/
After downloading and installing the Above files Follow the Mention Steps
Java Setup(Set System environment path)
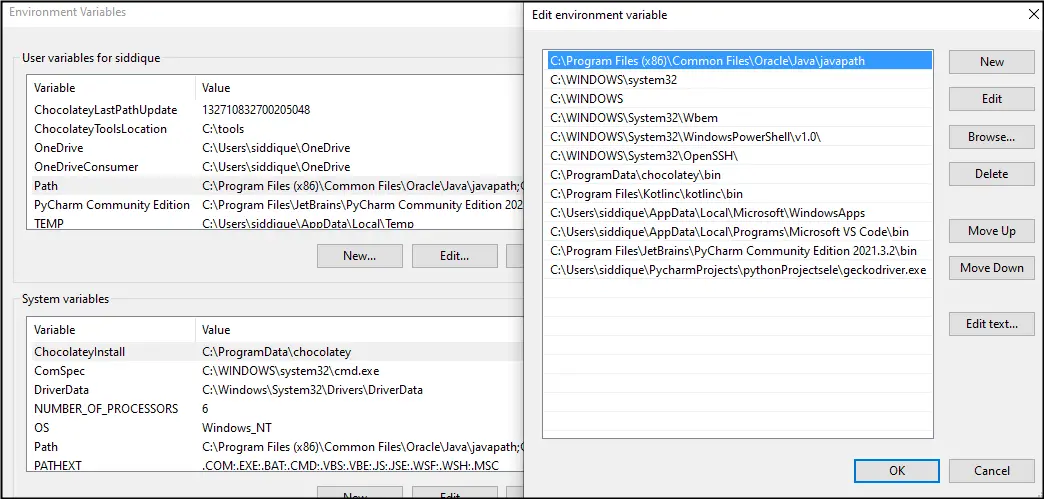
1. After Downloading and Installing Java, Set Up Environment Variable for Java.
2. Press CTRL + S in windows and Search Edit System Environment Variable

3. Pop up window will open under advanced, click Environment Variable

4. select path variable and click on edit then Add java.exe location and save changes.
5. Check Whether the path is set or not using the below command on Command prompt
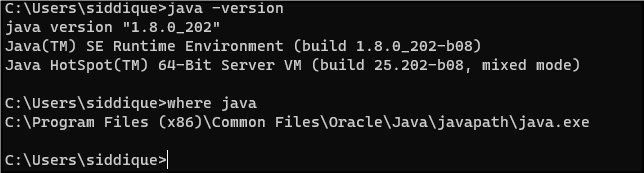
With “java -version” we can see Java Version and “where java” to verify its Location
Create a new Automation project and Add Selenium Library
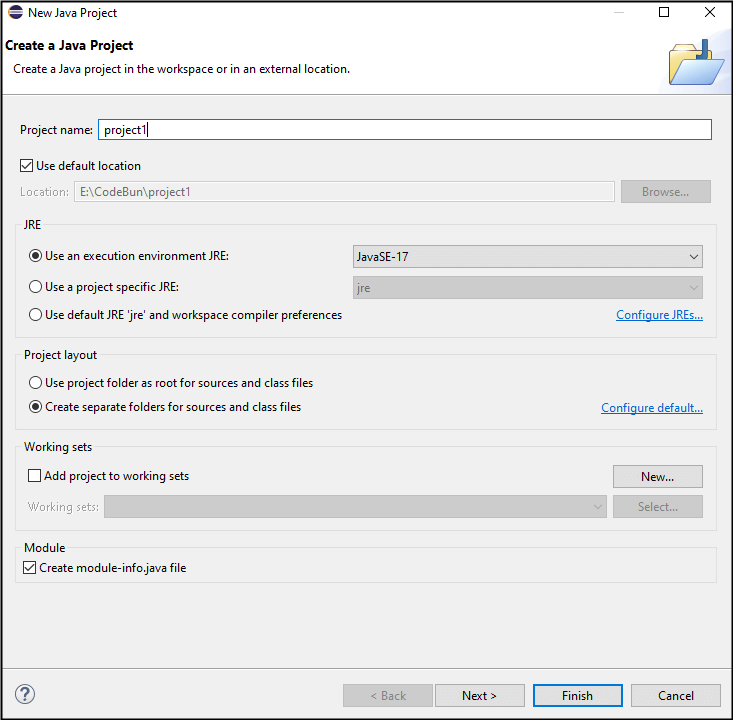
1. Now Open Eclipse IDE and Click on New Then Click on Java Project
2. Select Appropriate Name for Your Project and click on Next
3. After clicking on Next , Goto Libraries
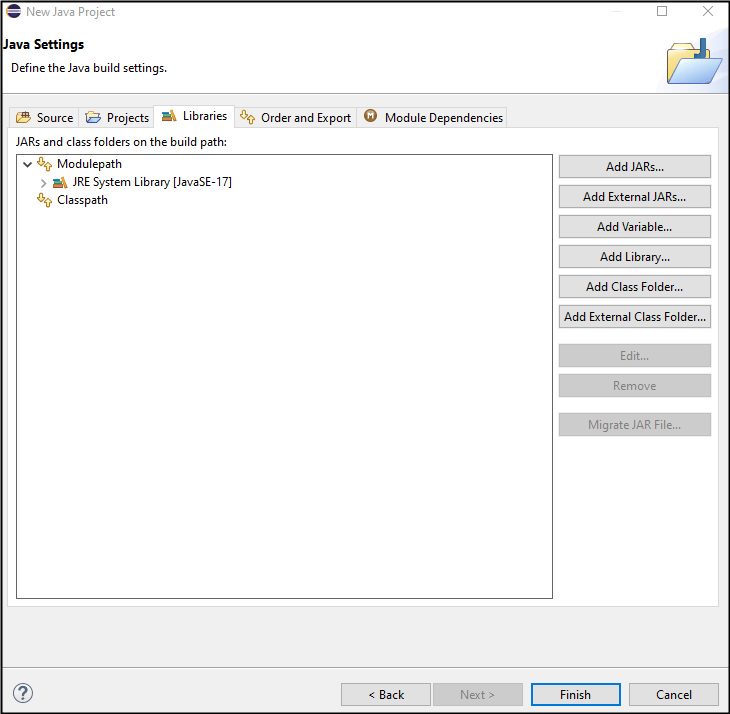
4. Now Click on Classpath add the selenium jar file which was downloaded earlier
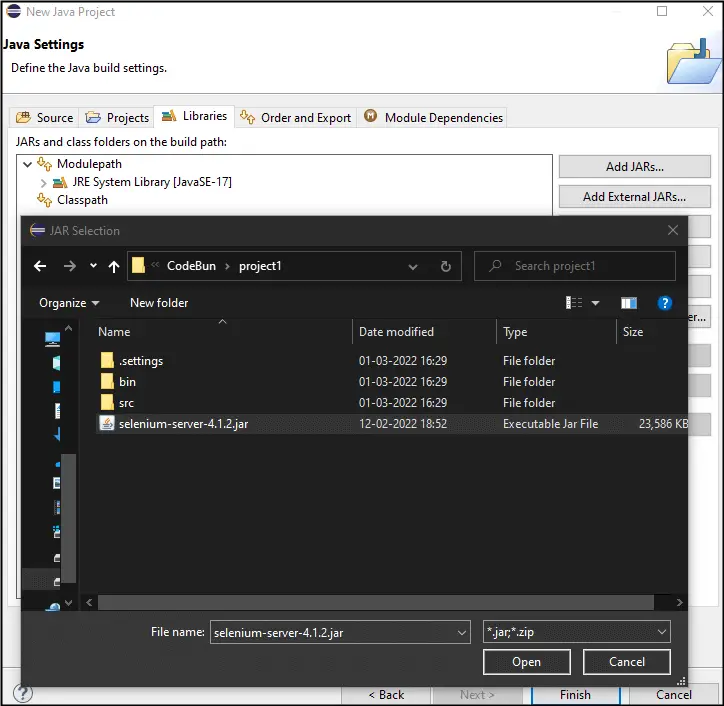

5. Then Click on Finish
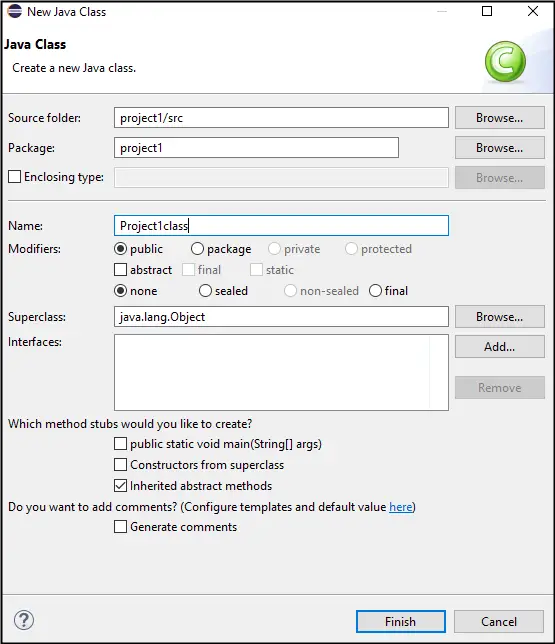
6. Now create a Class under the Project 1>> src and click on Finish
Write First automation script with Java Selenium
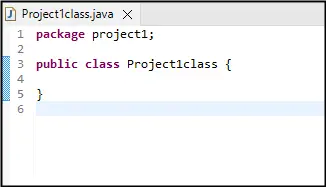
package project1;

import org.openqa.selenium.WebDriver;
import org.openqa.selenium.chrome.ChromeDriver;

public class Project1class {
    public static void main(String[]args)// Java Main Class
{
System.setProperty("webdriver.chrome.driver", "E:/CodeBun/project1/chromedriver.exe");//initialize Web Driver
WebDriver driver = new ChromeDriver();// Create First Instance of Web Driver
WebDriver driver2 = new ChromeDriver();// Create Second Instance of Web Driver
driver.manage().window().maximize();// Maximize Window of First Instance
driver2.manage().window().maximize();// Maximize Window of Second Instance
}
}
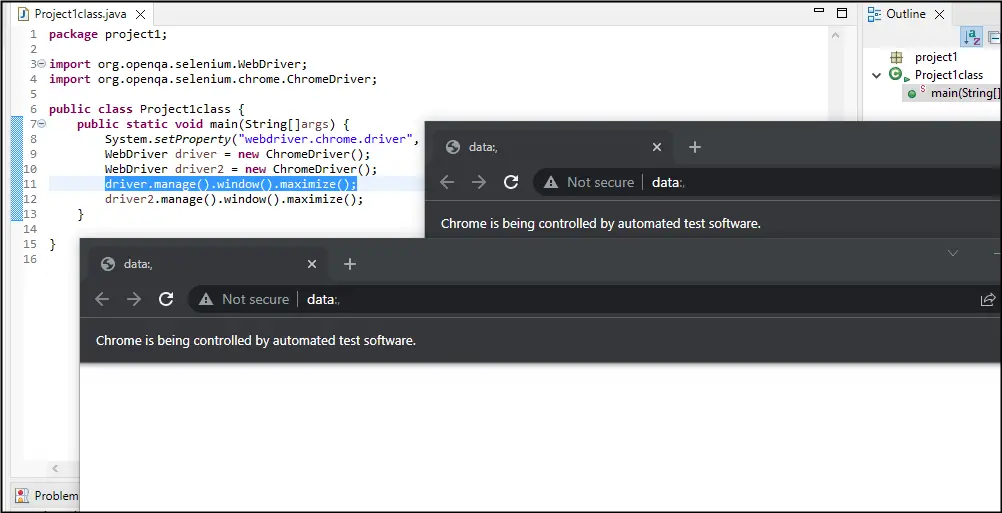
In the Above class, “System.setproperty” method is Used to Initialize the Web driver and To Create an instance of Chrome “WebDriver driver = new ChromeDriver()”.
In the Above Example Two instances are created and “driver.manage().window().maximize()” is used for maximizing the chrome instances windows.
Output:-
We have Successfully Completed Environment Setup For Selenium Testing Framework Which is Used for Validating Web Applications.
