Haven’t you observed, when you register on some websites, you get a mail from that company or institution? The email would be, verification email or welcome email, account creation successful email or thanks-regard email, etc.
For example, When you create a Google account, the first mail you get would be something like, “Hi Xyz, Welcome to Google..”. Sending such emails from your Django application is quite easy.
Although you can refer to the documentation for knowing more about sending emails in Django, this is remarkably condensed and made easier.
Django Email Sending Form Example Overview
We will be doing the following in this Django Email Sending Form Example
- Create a Page for entry of Contact Form where the user needs to type a message and submit it.
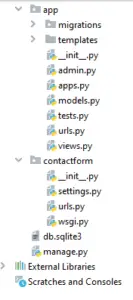
Create the project according to the following tree:
Configuring the settings.py
- In your “contactform” app’s settings.py file, enter the following:
EMAIL_HOST = 'smtp.gmail.com'
EMAIL_HOST_USER = 'yourmailid@gmail.com'
EMAIL_HOST_PASSWORD = 'yourmailpassword'
EMAIL_PORT = 587
EMAIL_USE_TLS = True
EMAIL_BACKEND = 'django.core.mail.backends.smtp.EmailBackend'
- We have used port of Gmail, you can check the respective port according to the mail you are using
- Also, don’t forget to add app_name in settings.py
- After these extra lines of code has been added to your project, you can send emails now. But if you are using Gmail, then the first time you make these changes in your project and run, you might get an SMTP error. To correct that-
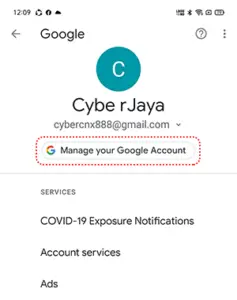
1. Go to the Google account registered with the sender’s mail address and select Manage your account
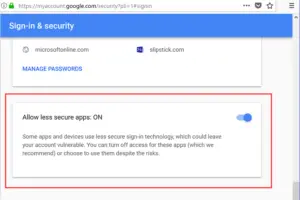
- Go to the security section at the left nav and scroll down. Less secure app access, turn on the access. By default, it would be turned off.
Configuring the view
- Yes, the class-based views reduce our efforts to quite an extent.
- So, look for the file views.py in your app folder and add the following code:
from django.shortcuts import render
from django.core.mail import send_mail
from django.conf import settings


def index(request):

  if request.method == 'POST':
    message = request.POST['message']

    send_mail('Contact Form',
     message,
     settings.EMAIL_HOST_USER,
     ['yourmailid@gmail.com'],
     fail_silently=False)
  return render(request, 'app/index.html')
Creating UI for Sending mail
- Now, in the templates folder, create another directory named enroll and it should be like /app/templates/app/index.html.
<h3>Contact Form</h3>

<form method="post" action="{% url 'index' %}">
  {% csrf_token %}
  <textarea name="message" placeholder="Message..."></textarea>
  <input type="submit" />
</form>
Configuring the urls.py
- To redirect our website to certain pages we need to make the following changes in the contactform/urls.py file:
from django.contrib import admin
from django.urls import path, include

urlpatterns = [
    path('admin/', admin.site.urls),
    path('', include('app.urls')),
]
- Add a urls.py file in your_app folder and write the following code:
from django.urls import path
from . import views

urlpatterns = [
    path('', views.index, name="index"),
]
Running the app
- Now let’s try running the app. Make sure your development server is running. If not you can use the following command in your Windows PowerShell to run your development server.
python manage.py runserver
- You will get the following:
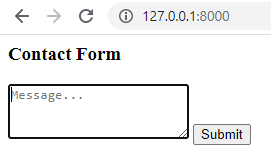
- Enter some message like this:
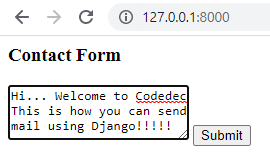
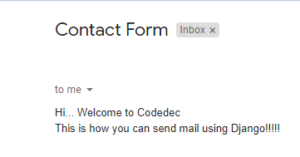
- After clicking the submit button check your mail and should get the following: