In this blog, we will learn how to upload multiple images and display them in a carousel in ReactJS. To do this, we have to follow some steps below.
Upload multiple images in ReactJS
Below are the simple steps, to create a simple reactJS application that will take input as multiple images, and after uploading it will be displayed in the Slider view.
- Setup project environment
- Create an input field and store the images
- Initialize the carouse
Setup project environment
- Run the below commands to create a React project and run it to a browser
npx create-react-app my-app
cd my-app
npm start
- After that go to the src folder and open App.js file. Write the below codes on that file.
import React, { useState, useEffect } from "react";


const App = () => {

  return (
    <>
      <h1 className="text-4xl text-center">Hello React</h1>
    </>
  );
}

export default App

Whatever we write inside this App.js file will be visible in the browser. To know more about how react works, Please read this article.
Note: we are using the TailwindCSS component library for styling. Please walkthrough this article to know more.
Create an input field and store images
- Create an input field as the file type to select multiple image files.
<input type="file" multiple accept="image/*" />
This will let us select multiple image files.
- Declare two state variables to store image and the URLs
  const [images, setImages] = useState([]);
  const [imageURLS, setImageURLs] = useState([]);
- Add an onChange event to the input field.
<input type="file" multiple accept="image/*" onChange={onImageChange} />
function onImageChange(e) {
    setImages([...e.target.files]);
  }
This onChange function will keep the previous images and add the newly selected files in the state variable.
- Now, write the below code inside the component function
useEffect(() => {
    if (images.length < 1) return;
    const newImageUrls = [];
    images.forEach((image) => {
      newImageUrls.push(URL.createObjectURL(image))
    });
    setImageURLs(newImageUrls);
  }, [images]);
At first, we are returning if there is no file selected. Else, we have declared an empty array where we will push the converted image URLs. This URL.createObjectURL() method will create a URL address to show the image in the browser.
Now that the image files have been stored, let’s initialize a slider to show the images.
Initialize the carousel and display images into slider view
We will use an npm library to use the slider in our project.
- Run the below command in the command prompt in the project directory.
npm i swiperIt will install the required dependencies to run the slider
- Import the below methods from the library
import { Swiper, SwiperSlide } from "swiper/react";
import { Navigation, Pagination, Mousewheel, Keyboard } from "swiper";
import "swiper/css";
import "swiper/css/navigation";
import "swiper/css/pagination";
- Now add the Swiper component inside the JSX and pass some props as required.
<Swiper
       cssMode={true}
       navigation={true}
       pagination={true}
       mousewheel={true}
       keyboard={true}
       modules={[Navigation, Pagination, Mousewheel, Keyboard]}
       className="mySwiper"
     >


     </Swiper>
Here we have added some customization such as pagination, keyboard change (the image will change with left and right keystrokes), etc. Inside this component, we will map through the imageURLS array and return the slider elements.
 {imageURLS.map((imageSrc) => (
          <SwiperSlide className=""><img src={imageSrc} alt="not fount" /></SwiperSlide>

 ))}
The full code will look like this,
import React, { useState, useEffect } from "react";
import { Navigation, Pagination, Mousewheel, Keyboard } from "swiper";
import { Swiper, SwiperSlide } from "swiper/react";

import "swiper/css";
import "swiper/css/navigation";
import "swiper/css/pagination";

const App = () => {
  const [images, setImages] = useState([]);
  const [imageURLS, setImageURLs] = useState([]);
  useEffect(() => {
    if (images.length < 1) return;
    const newImageUrls = [];
    images.forEach((image) => {
      newImageUrls.push(URL.createObjectURL(image))
    });
    setImageURLs(newImageUrls);
  }, [images]);

  function onImageChange(e) {
    setImages([...e.target.files]);
  }
  return (
    <>
      <input type="file" multiple accept="image/*" onChange={onImageChange} />


      <Swiper
        cssMode={true}
        navigation={true}
        pagination={true}
        mousewheel={true}
        keyboard={true}
        modules={[Navigation, Pagination, Mousewheel, Keyboard]}
        className="w-2/4"
      >
        {imageURLS.map((imageSrc) => (

          <SwiperSlide className=""><img src={imageSrc} alt="not fount"  /></SwiperSlide>
        ))}

      </Swiper>
    </>
  );
}

export default App

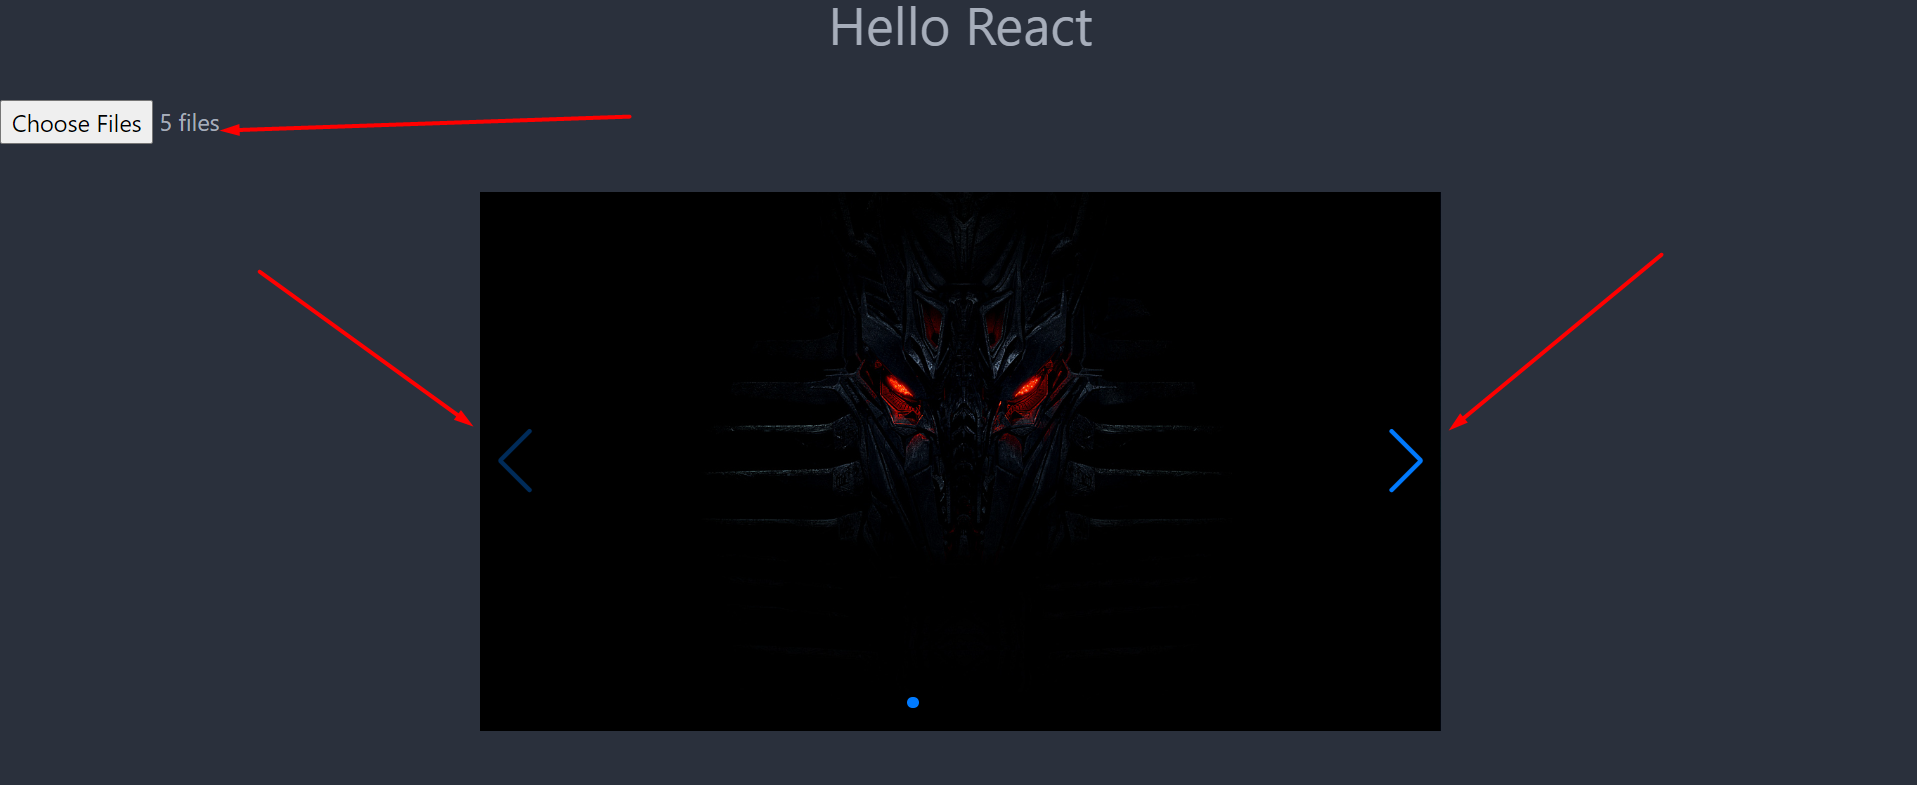
Images will be changed by clicking the arrows of the carousel. This is how we can select multiple images and display them into a slider in ReactJS.