In the previous article, we learn how to use the annotation of JUnit. In this article, we will understand how to compare Arrays in JUnit.
Comparing Arrays in JUnit
In Java, Arrays are the data structure that stores the same type of values. In a programming world, if we want to store multiple objects of the same type then we go for the Arrays concept.
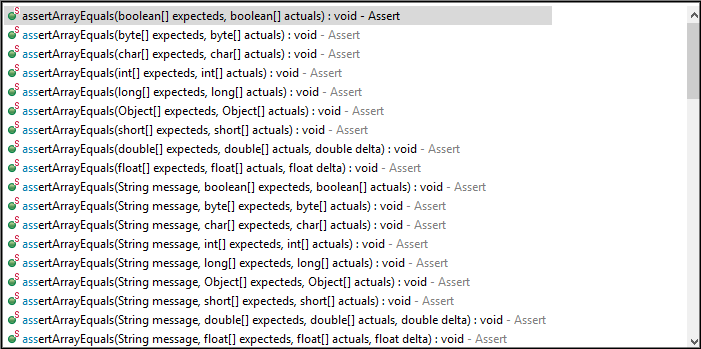
While doing unit testing, there can be a requirement where we want to test a chunk of code that involves Arrays, then we can’t use the assertEquals() methods. For this purpose, we need to use some of the following methods that are available in JUnit and they are:
assertArrayEquals(int[] expected, int[] actual): This method checks if both the expected and actual array output is the same or not. It has lots of overridden methods. The expected value is the value that we want a method to return and the actual value is the value that the method is returning.
Now, let us take a simple example where we will learn to compare arrays in JUnit.
Write Unit Test to Compare Arrays in Junit
Create an array that would store string types of data and we will try to sort them using Array.sort() method. Then, check if the expected output is the same as that of the actual output using JUnit.
Step 1: Open Eclipse > File > New > Maven Project.
Step 2: Now, you will get a New Maven Project. Check the create a simple project. Click on Next.
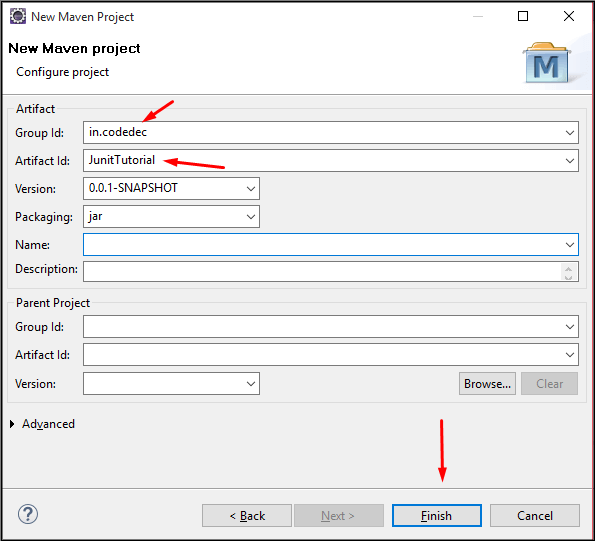
Step 3: Now, Enter group id, artifact id as shown below
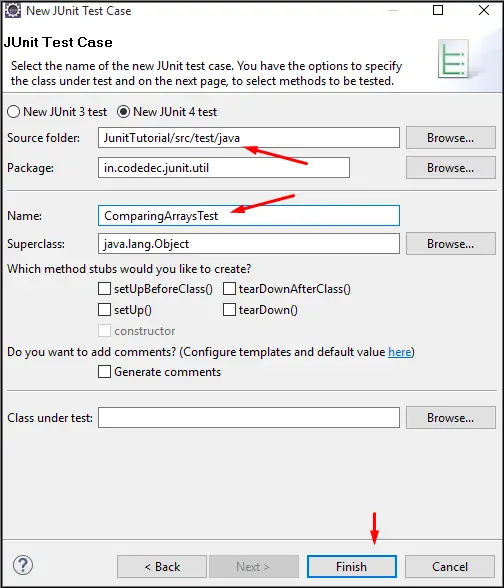
 Step 4: First, create our JUnit Test case. Here, we will keep our test file in a separate package. Mostly, we keep the test case file inside src/test/java. After that, click Finish. After Finish you will get the alert box, just click OK.
Step 5: Now, we will get the default test case generated and we will modify the code as shown below
package in.codedec.junit.util;

import static org.junit.Assert.*;

import java.util.Arrays;

import org.junit.Test;

public class ComparingArraysTest {

    @Test
    public void testArrays() {
        String s1[] = {"Lenovo","Dell","HP","Samsung"};
        String expected[] = {"Dell","HP","Lenovo","Samsung"};
        Arrays.sort(s1);
        assertArrayEquals(expected, s1);
    }
}
- On-line no:13, an array of strings is created.
- On-line no:14, we have created the expected value as arrays of strings that would be the sorted string.
- On-line no:15, Use Arrays.sort() to sort them in ascending order.
- On-line no:16, we have to use the assertArrayEquals() method to check the expected output with the actual output.
Step 6: Now, Run the Application as JUnit Test and see the following stack trace.
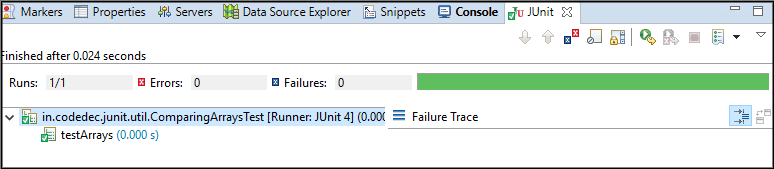
Here, we can see the green bar that implies the test is run without error.
Now, let us do some modifications in the expected value as shown below.
package in.codedec.junit.util;

import static org.junit.Assert.*;

import java.util.Arrays;

import org.junit.Test;

public class ComparingArraysTest {

    @Test
    public void testArrays() {
        String s1[] = {"Lenovo","Dell","HP","Samsung"};
        String expected[] = {"HP","Dell","Lenovo","Samsung"};
        Arrays.sort(s1);
        assertArrayEquals(expected, s1);
    }
}
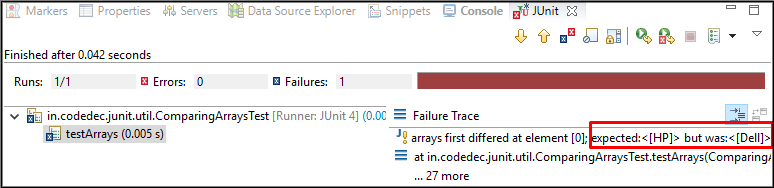
Now, once again Run the Application as JUnit Test and see the following stack trace. Here, we can see the red bar that implies the test is failed.
Thus, in this way, we learn how to compare Arrays in JUnit with an example.