How to integrate TestNG with eclipse and Write the first program in TestNG. We have to follow some basic steps to install the TestNG plugin in eclipse.
There is two way to install TestNG in Eclipse.
- Add TestNG plugin manually.
- Download from the market place.
Install TestNG plugin Manually in the eclipse
- Run Eclipse.
- Go to “Help” in the top menu bar and click to “Install New Software” option.
- Click to Add option.
- Now, Enter Name = “TestNG” and Location = http://dl.bintray.com/testng-team/testng-eclipse-release/
- Select the TestNG check.
- Accept the license and start the installation.
During this manual installation might be we get some error or it’s not installed properly. Then we can choose the second option to install TestNG from the market place.
Error: could not find http //beust.com/eclipse while installing testng
Now let’s see how to solve this error and Download TestNG from the market place of the eclipse.
Install TestNG from the eclipse market place
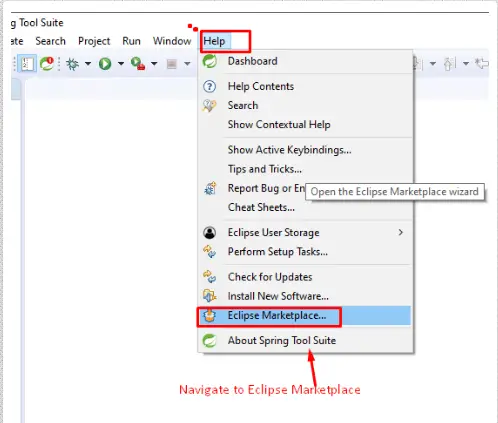
1) Open Eclipse.
2) Click to help in the top menu and navigate to “Eclipse Marketplace”.
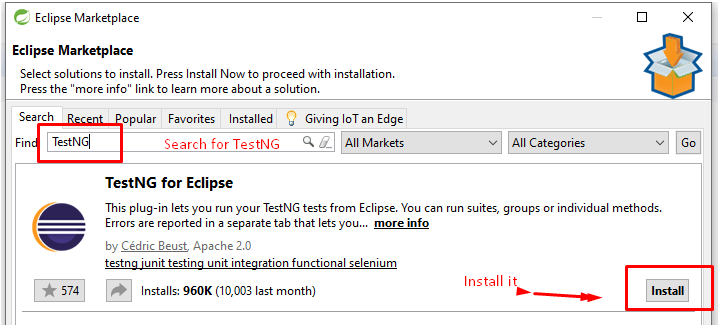
3) Find testNG and install it.
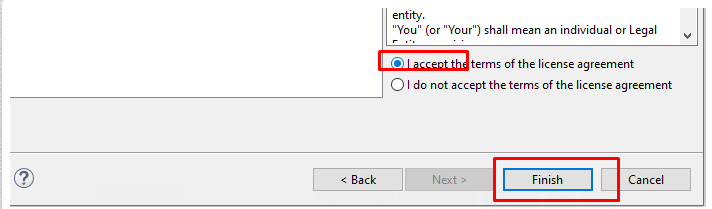
4) Confirm and accept the license conditions
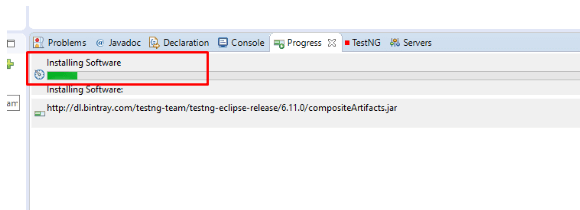
5) Wait until it installs the testNG.
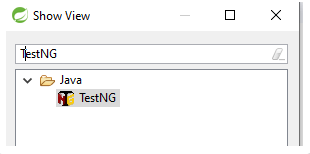
6) Restart eclipse and verify the TestNG under the windows ==> Show View ==> others and search for TestNG.

It will take some time to finish the installation process to please wait until its install properly. Now create a new Java project and start the automation.
Write an automation test case using TestNG.
Create a java project using maven in the eclipse and create a TestNG. Let’s follow some basic steps to run your first automation test case using TestNG.
Step 1) Create a Simple Java or Maven Project in Eclipse.
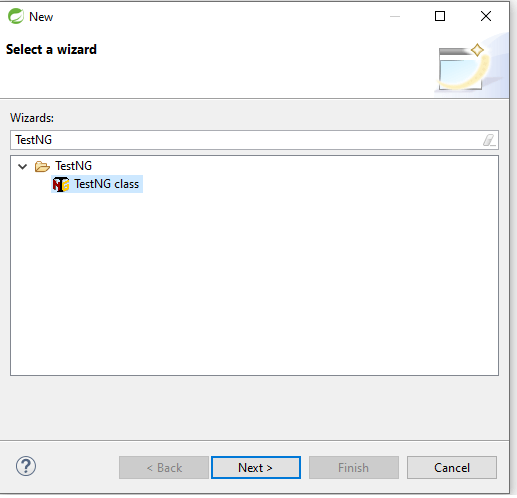
Step 2) Create a TestNG class. In My Case, I create a class with the name “TestCase1” under the “Testcase” package.
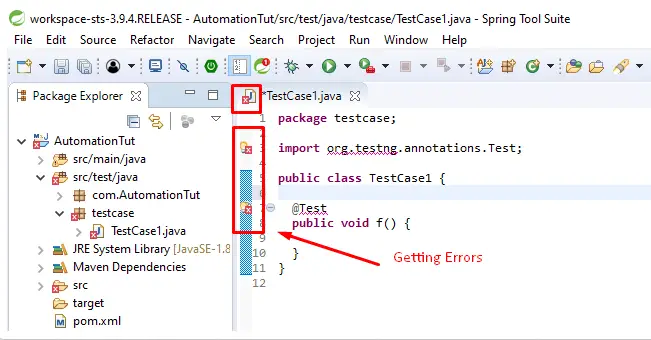
Step 3) Observe the autogenerated code in the class. Did you notice there is some error? Don’t worry we are just missing a jar file for TestNG.
Step 4) Add TestNG jar into the project.
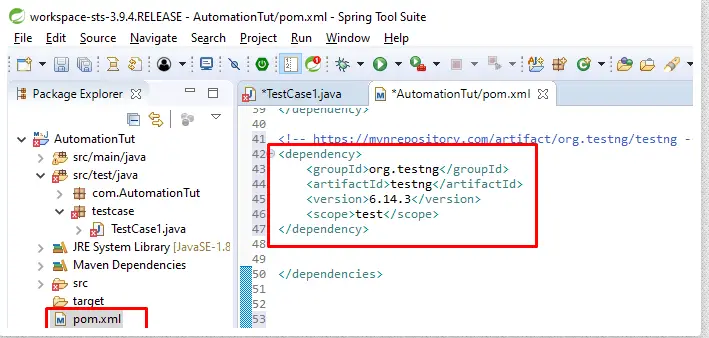
If you are working with maven then open the “pom.xml”, Add the dependency for TestNG and save it. To find the latest version of TestNG just Google “Maven dependency for TestNG”.
<!-- https://mvnrepository.com/artifact/org.testng/testng -->
<dependency>
<groupId>org.testng</groupId>
<artifactId>testng</artifactId>
<version>6.14.3</version>
<scope>test</scope>
</dependency>
If you are using a simple java project then you have to download TestNG jar and manually need to import it in the project library.
Step 5) Write the first TestNG Program.
package testcase;

import org.testng.annotations.Test;

public class TestCase1 {

@Test
public void f() {

System.out.println("This is my first TestNG program");

}
}
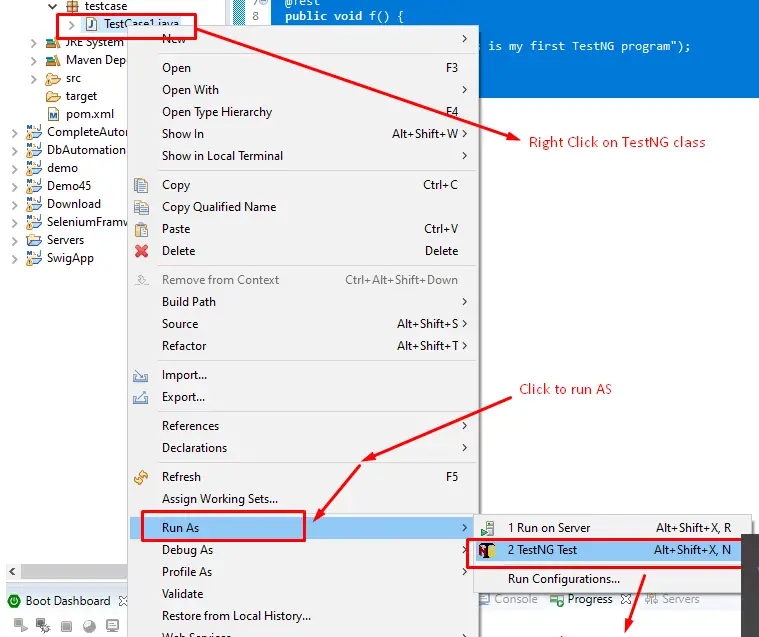
Step 6) Run the TestNG class.
If you can see the output. It means your machine and eclipse are ready for automation with TestNG. Now in upcoming tutorials will cover all the step-by-step topics that come under the testNG with examples.
Could not find http://dl.bintray.com/testng-team/testng-eclipse-release/
While you trying the above manual steps to install TestNG in eclipse might be you get this error. so let’s discuss some common ways to resolve this.
Check Network connection of eclipse
Check your internet connection and make sure it’s working and connect with your machine. Also, make sure the same connection is configured into the eclipse network connection. Windows -> Preferences -> General -> Network Connections, make sure you have correct settings.
If you using a private network of an organization or company then disconnect from this network and connect to your network (Like mobile hotspot or home wifi). Try install then. this is my personal experience.
Upgrade eclipse version
make sure, you are using the updated version of IDE, Eclipse, or STS. so go to the official website of the eclipse and verify the version that you have at your machine. keep it up to date.