In this tutorial, we will be learning how to upload images in ReactJS.
It is pretty much similar to basic HTML. But in React it will be working inside JSX; not in HTML. Below are the topics we will be covering in this article.
- Make the environment to work with.
- Add file-type input tag.
- Uploading image.
Make the environment to work with
- Clone this git repository to make the process easier.
Note: To know how this works or how to set this up, Read This Article. - After creating the project app, go to src folder and create a folder named, components. Create a functional component inside of this newly created folder (src/components).
// src/components/UploadImage.js

import React from 'react';

const UploadImage = () => {
    return (
        <div>

        </div>
    );
};

export default UploadImage;
- Import this newly created component into App.js
// src/App.js

import React from "react";

// import component
import UploadImage from "./components/UploadImage";

function App() {

  return (

    <div className="App">
      <UploadImage />
    </div>
  );

}

export default App;

Now the environment is set, proceed to the next step, adding input file.
Add Input Tag
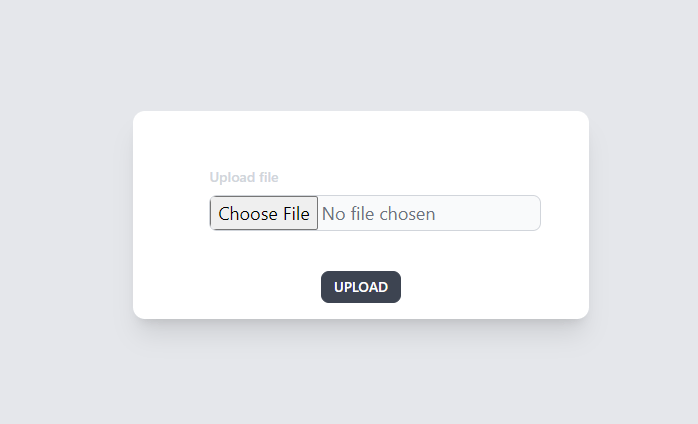
- Go to the component and write the below codes with tailwind CSS style classes there.
// src/components/UploadImage.js

import React from 'react';

const UploadImage = () => {

    return (
        <div className="bg-gray-200 min-h-screen flex items-center justify-center">

            <form className="rounded-xl shadow-xl w-1/3 h-52 bg-white mx-auto ">
                <div className="mx-auto w-2/3 mt-14">
                    <label class="block mb-2 text-sm font-medium text-gray-900 dark:text-gray-300" for="file_input">Upload file</label>
                    <input name="image" class="block  text-lg text-gray-500 bg-gray-50 rounded-lg border border-gray-300 cursor-pointer  focus:outline-none " id="large_size" type="file" />
                </div>
                <div className="flex justify-center mt-10 mb-14">
                    <button className="btn btn-sm">Upload</button>
                </div>
            </form>
        </div>
    );
};

export default UploadImage;
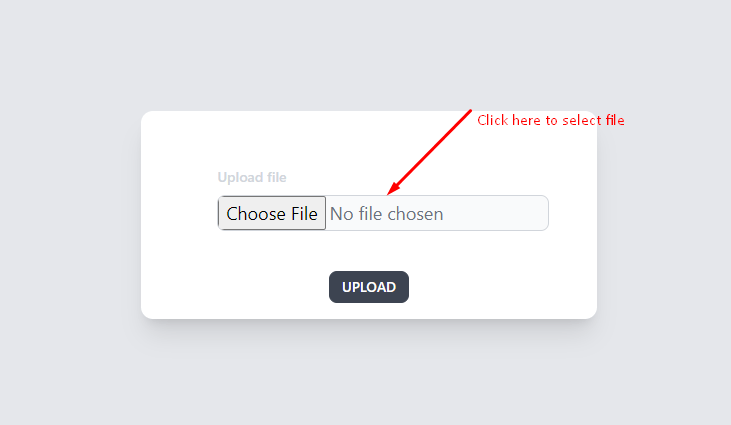
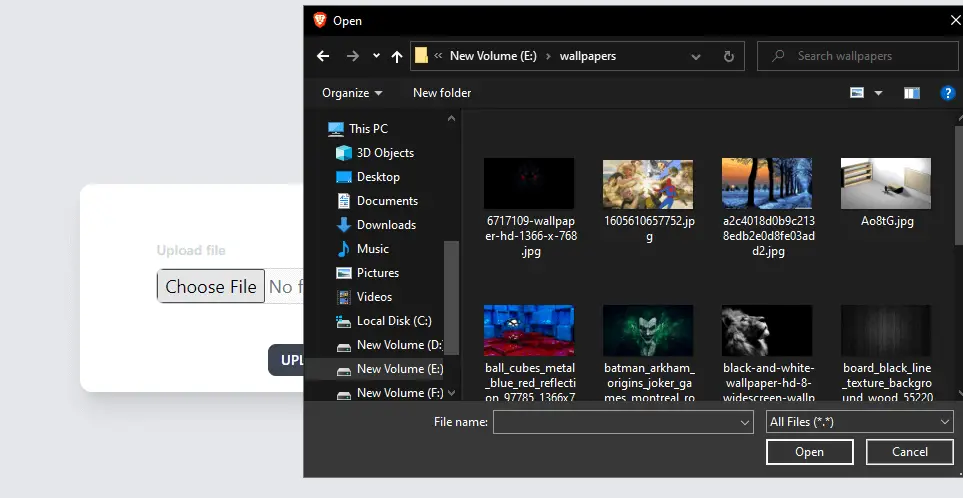
- Now, to upload image just have to click on the input tag and the file manager pop window will be opened
- Just select the file you want to upload, then click open.
These steps are very simple to follow. This is how we can manage the primary stage of uploading images in ReactJS.
Note: Any kind of style can be applied here.
How to display images into ReactJS?
To display an image in ReactJS, there are two different procedures to do that.
- Displaying an image from computer.
- Displaying an image from online source
These are two different things; to upload an image from a computer, the image should be imported.
Display image from computer in ReactJS
- Import the image from the folder
// import the image from the folder
import img1 from './images/markus-spiske-hvSr_CVecVI-unsplash.jpg';
- Pass the name of the image (the name used to import as) inside a
<img>tag. But with JSX expression,{}
<div className="w-1/2 mx-auto my-16">
    <img src={img1} alt="" />
</div>

Display image online (with image URL) in ReactJS
- Copy the URL of the desired image from online.
- Paste the link inside src=”” attribute of
<img>tag.
<div className="w-1/2 mx-auto my-16">
    <img src="https://images.unsplash.com/photo-1522252234503-e356532cafd5?ixlib=rb-1.2.1&ixid=MnwxMjA3fDB8MHxwaG90by1wYWdlfHx8fGVufDB8fHx8&auto=format&fit=crop&w=725&q=80"
     alt="" />

</div>

These are the procedures to display an image in the React project. It’s a bit similar like regular HTML. But with the help of JSX and its expression.
